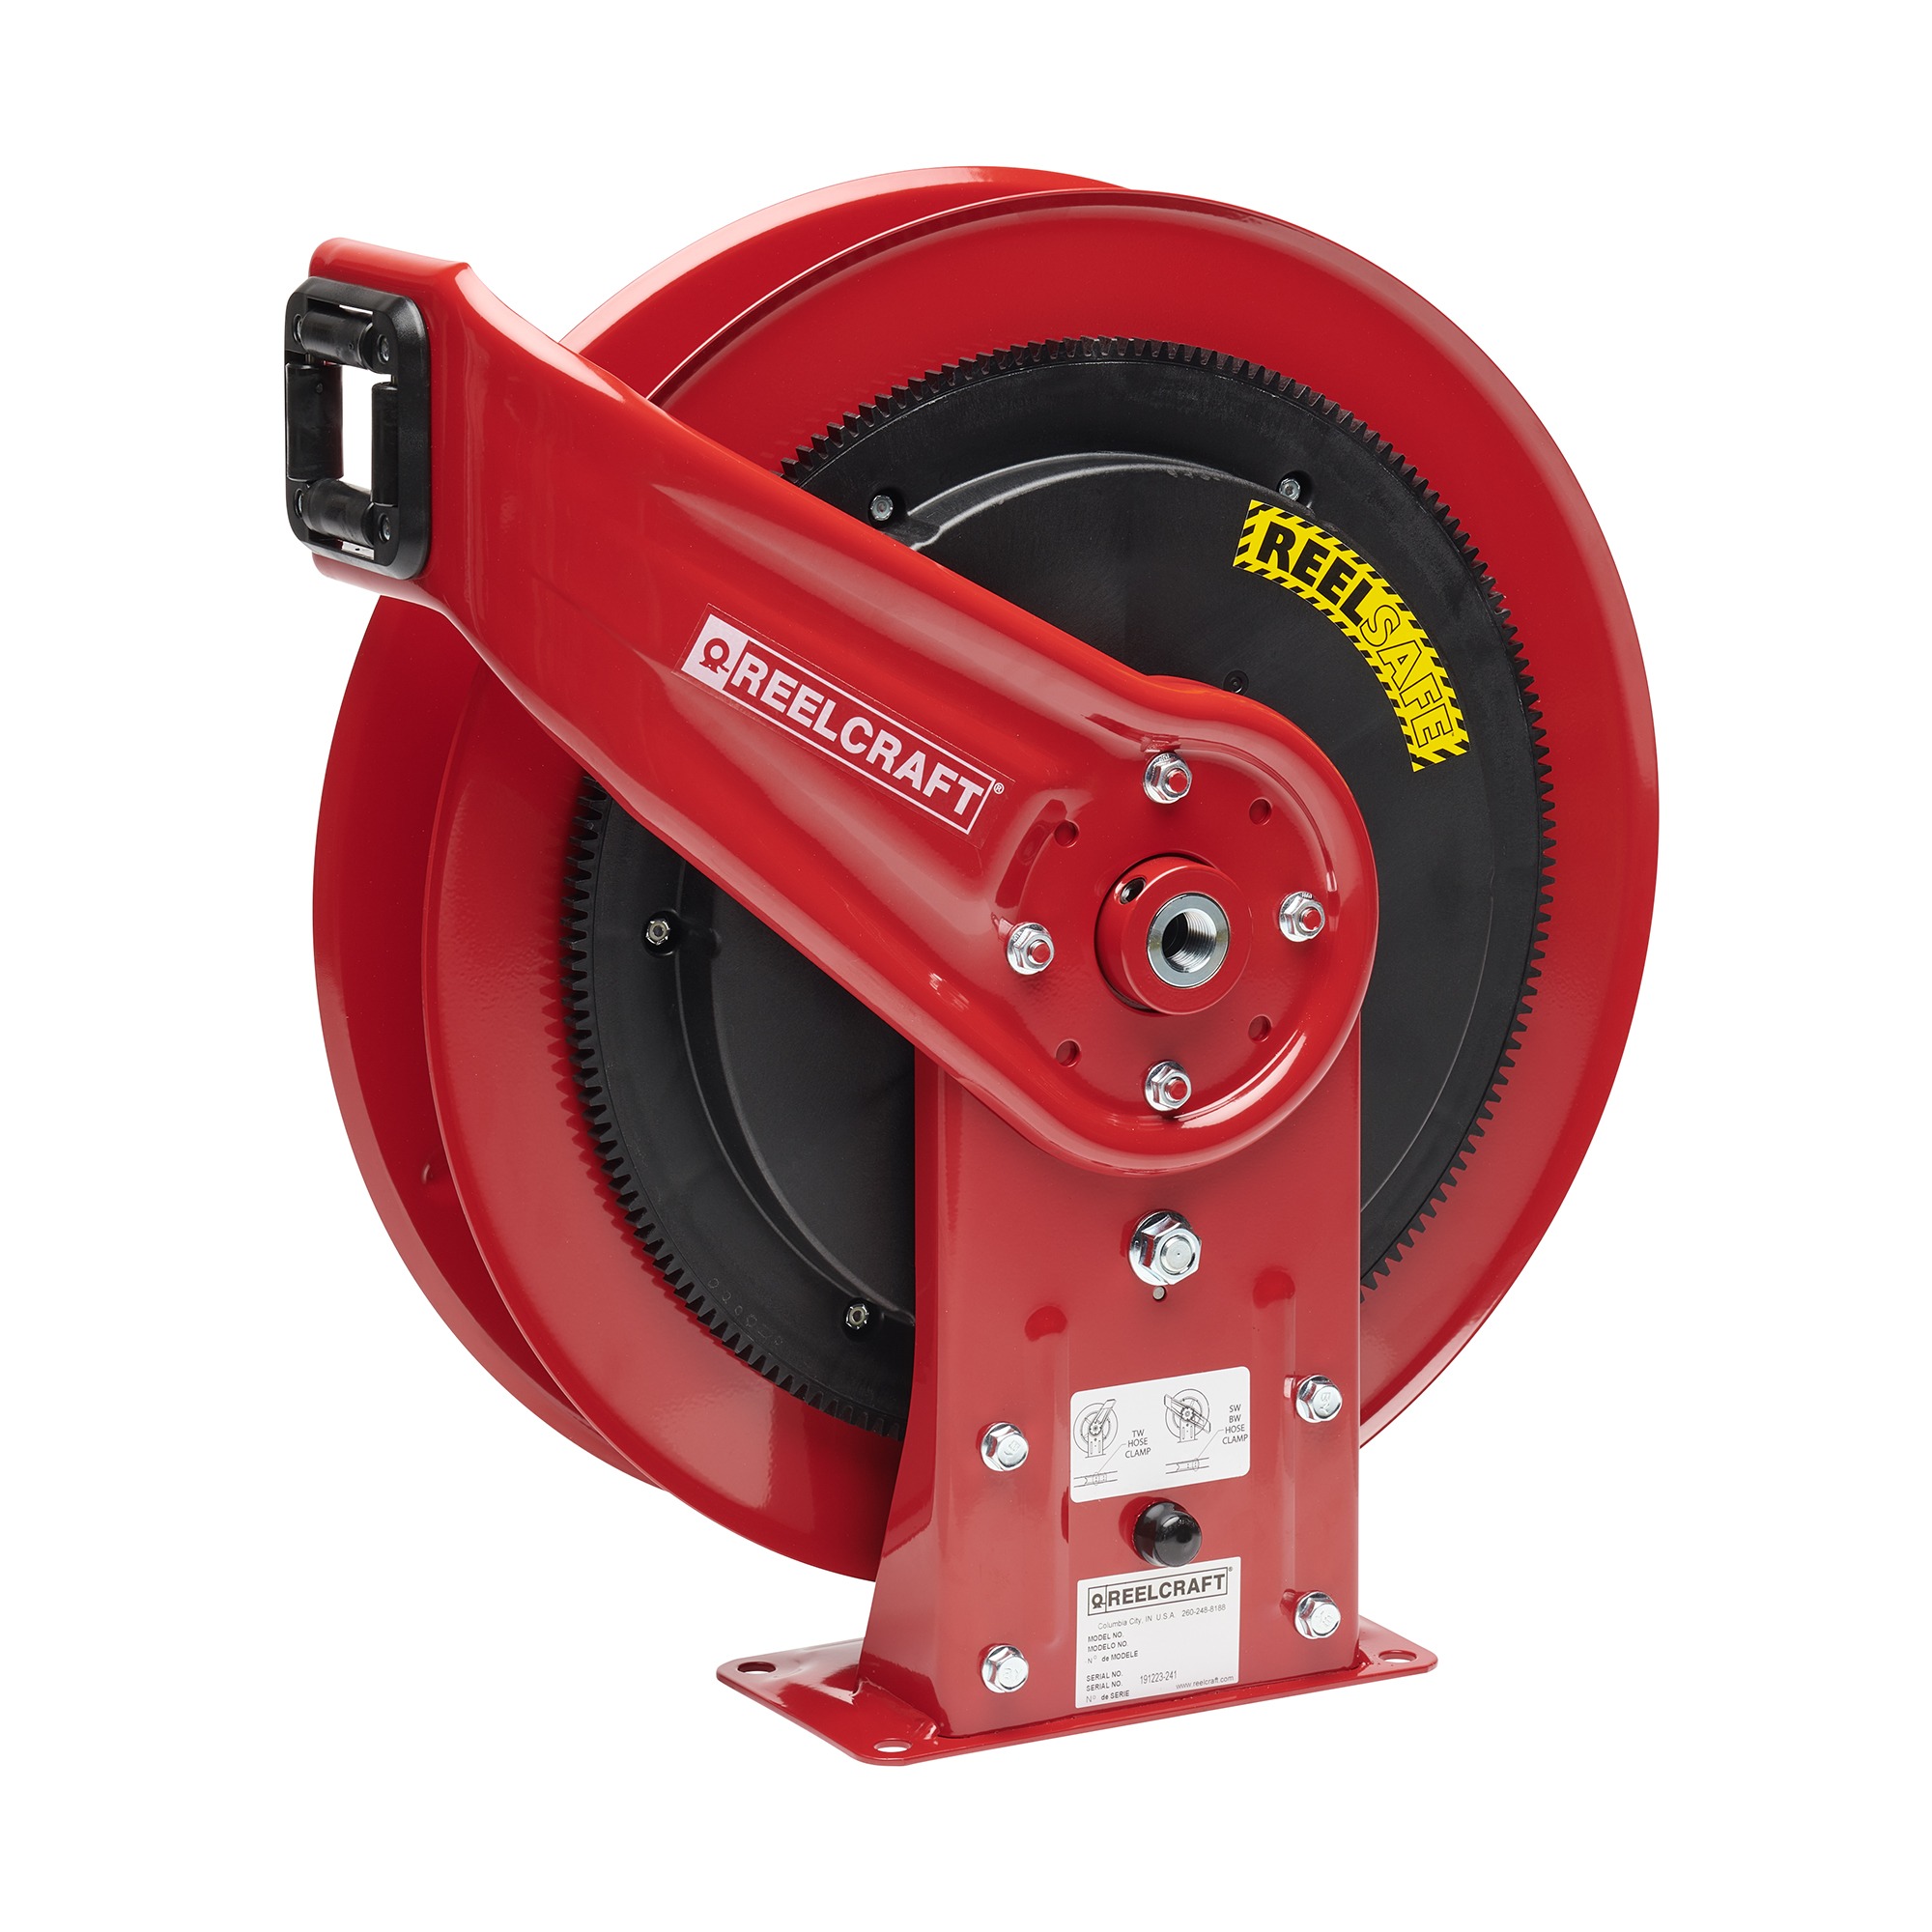

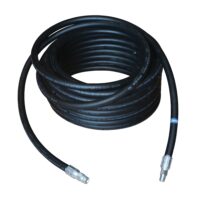
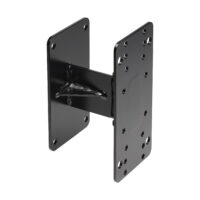
RS7600 OHP – 3/8 in. x 50 ft. REELSAFE® Controlled Return Hose Reel
The new REELSAFE® Series RS7000 controlled return hose reel is an expansion of the rugged design that set the industry standard. With safety at the forefront, REELSAFE® pays out like a traditional reel, though is specifically engineered to retract the hose at an average walking speed. The centrifugal clutch, integral to the reel base, greatly decelerates the hose retraction speed by up to 83% vs. a Series 7000 reel.
- Retracts at 2 miles per hour – designed to match the average human walking speed of 2 to 3 miles per hour
- Integral clutch creates a consistent retraction speed regardless of fluid or environmental temperatures
- Safely protects personnel and equipment
- Requires no field adjustment
- Made in USA
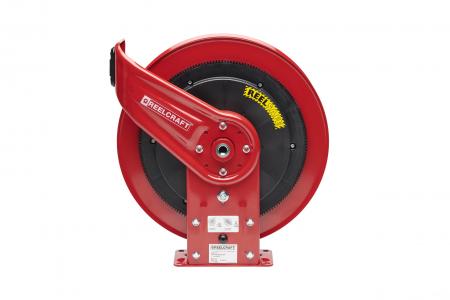
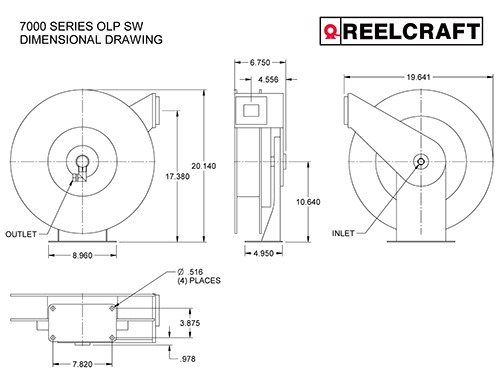
Reel Specifications and Dimensions
Additional information
| Weight | 49 lbs |
|---|---|
| Series | |
| Hose I.D. | |
| Hose O.D. | |
| Hose Length | |
| Pressure | |
| Inlet | |
| Reel Outlet | |
| Hose Included | |
| Max Temperature | |
| UPC | 699567027027 |
| Carton Dimensions | 23.375" x 9.375" x 25.5" |
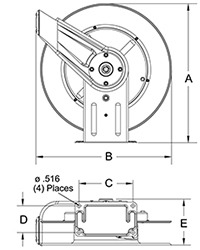
| A | 20.25" |
| B | 19.75" |
| C | 7.8125" |
| D | 3.875" |
| E | 7" |
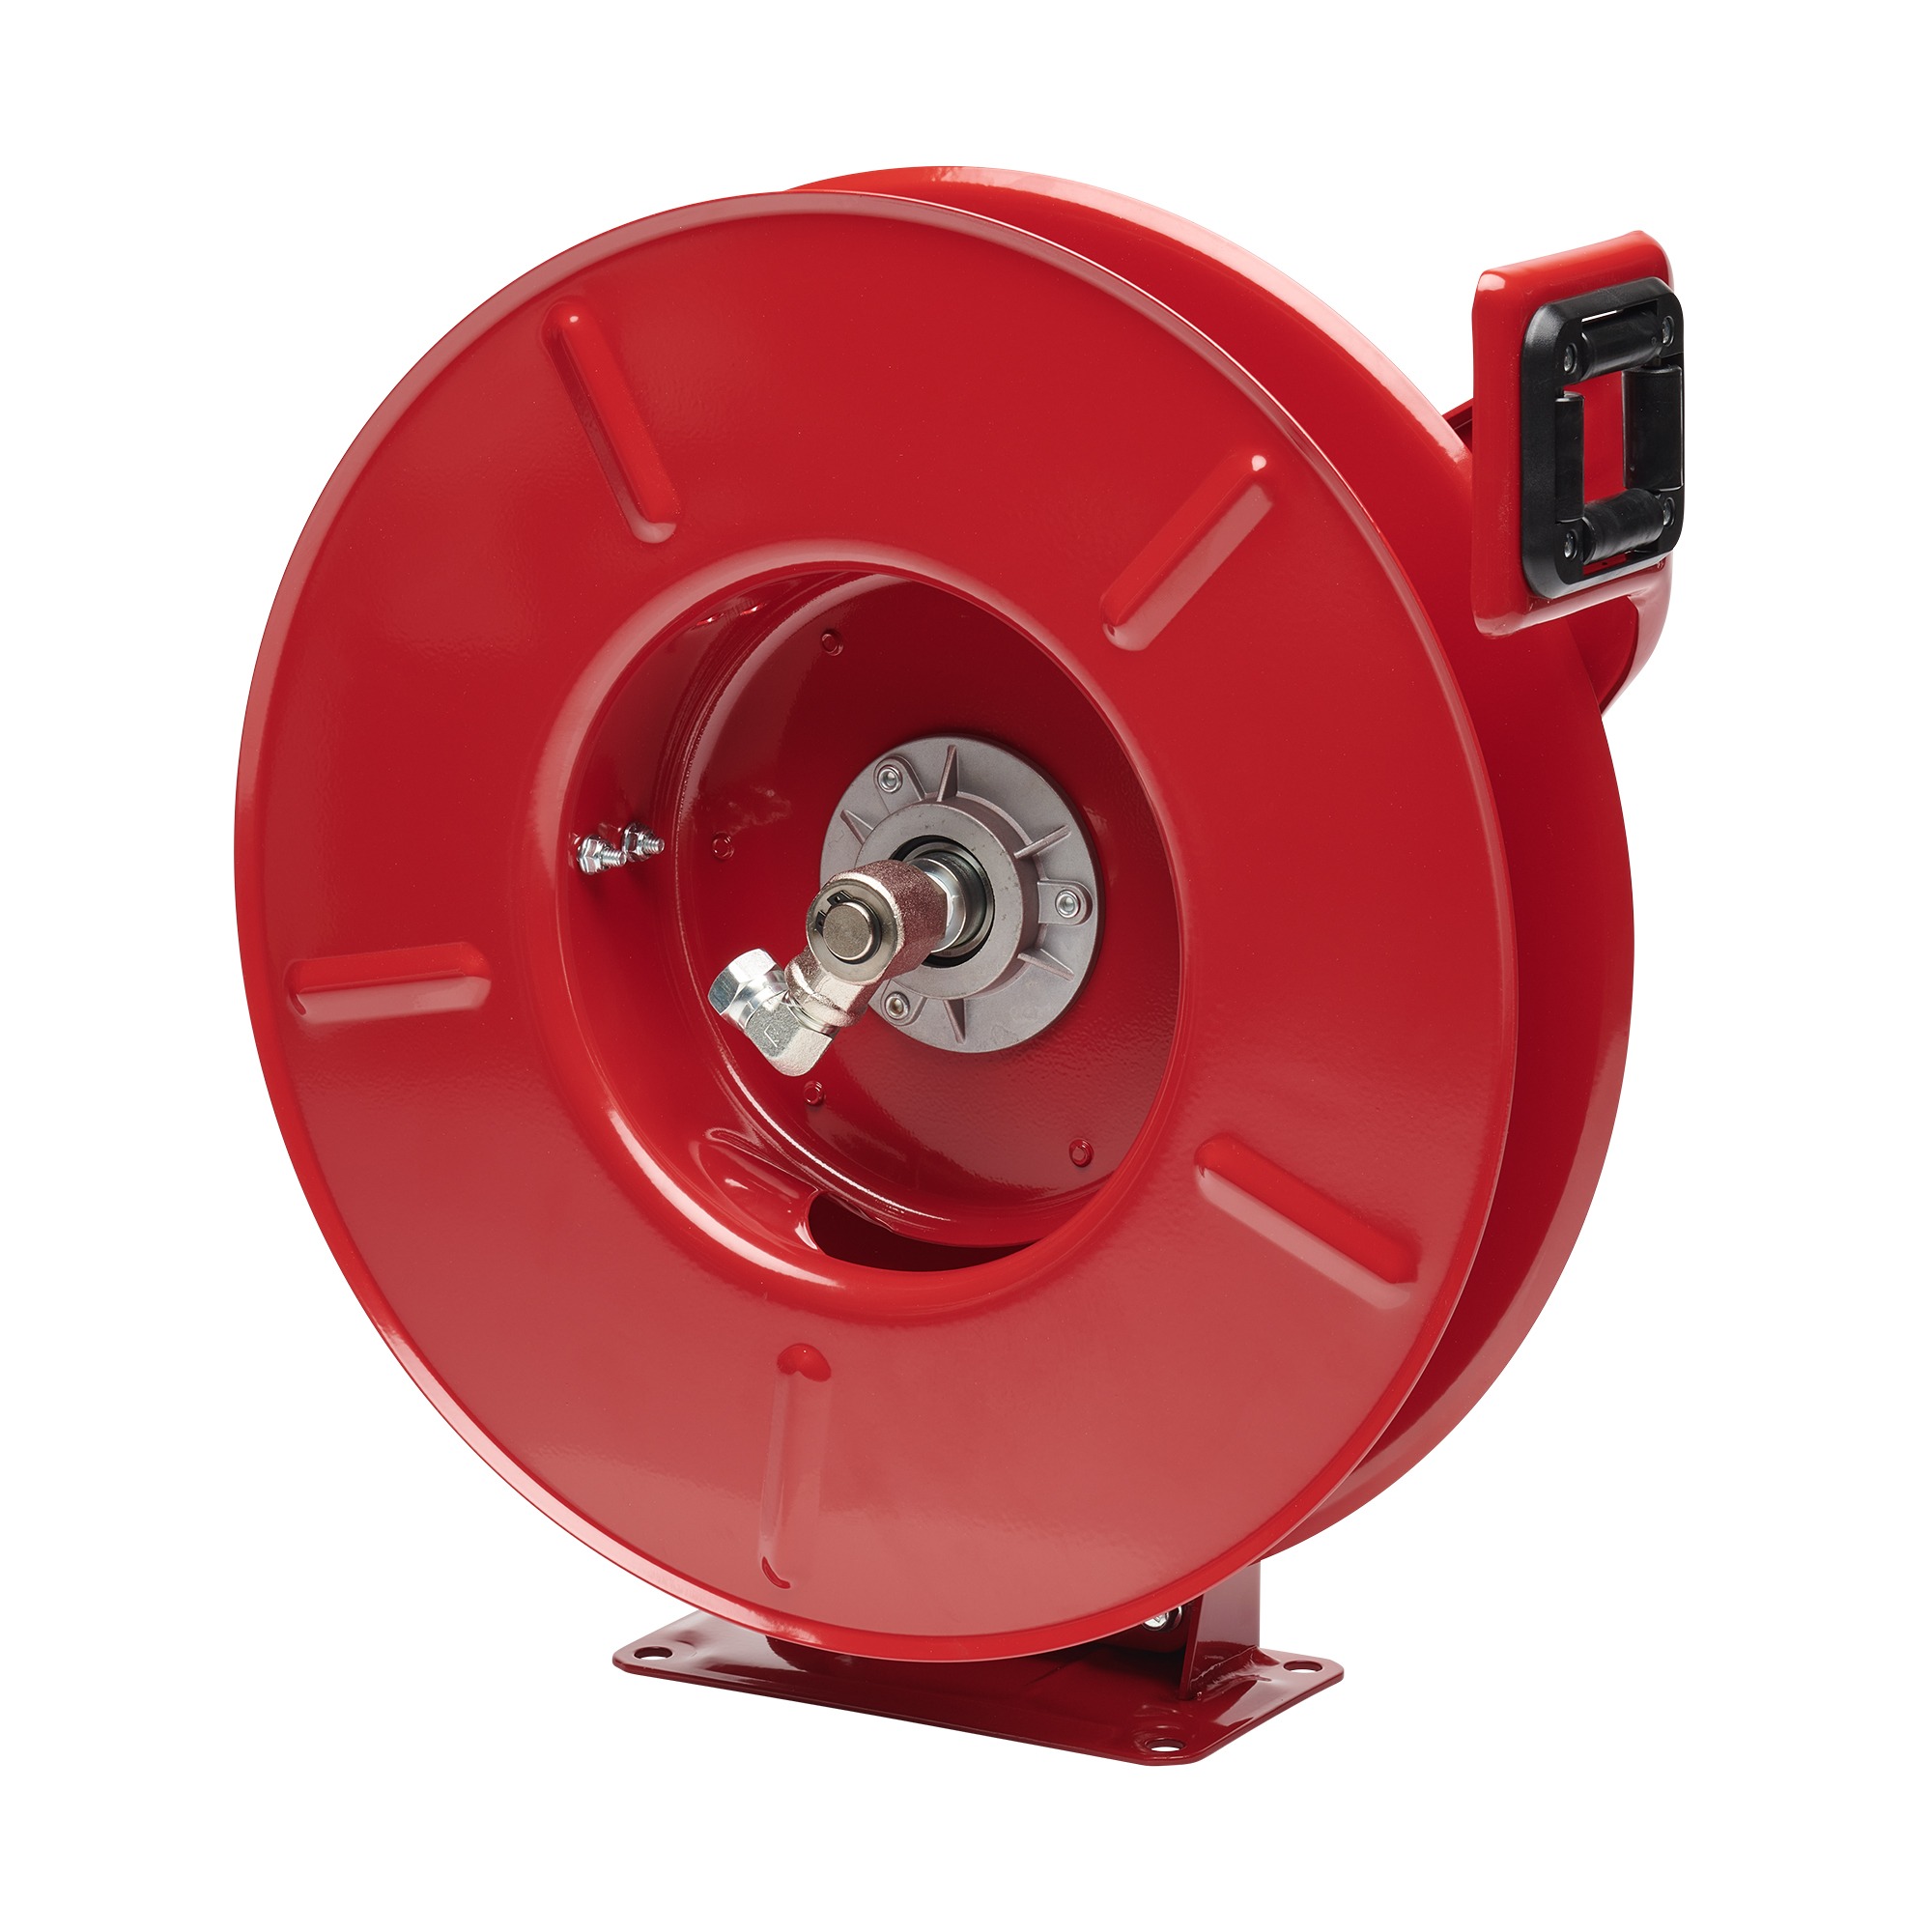
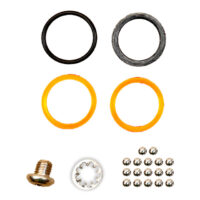
Fluid Path Materials
| Internal Fluid Path | Steel |
| Swivel Assembly | Steel |
| Swivel Seal | HNBR |
Parts
Hose Assembly
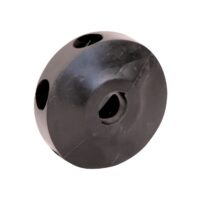
Bumper Stop
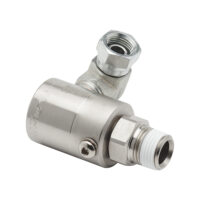
Swivel Assembly
Drive Spring Assembly

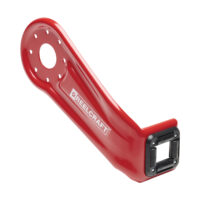
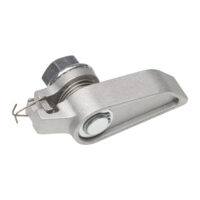
Guide Arm Assembly
Latch Pawl Kit
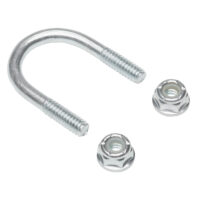
U-Bolt

Accessories
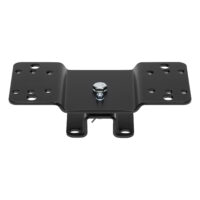
Pivot Base
Swing Bracket

Video


FAQs
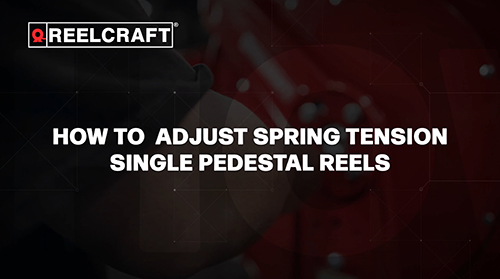
Increase or decrease the spring tension on your Reelcraft hose or cord reel to improve retraction performance.
When to Adjust Spring Tension
Adjust spring tension if:
- The reel won’t fully retract the hose or cord.
- It pulls back too slowly or with too little force.
- You’ve changed the hose or cord length or weight.
How to Increase Spring Tension
Increasing spring tension helps the reel pull the hose or cord in more firmly. Adding wraps of hose or cord will increase the spring tension. You can also watch our Reelcraft how-to video for step-by-step visual instructions on adjusting the spring tension for single pedestal reels.
Steps:
- Pull out 10 ft (3 m) of hose or cord.
- Feed the hose/cord back up through the roller bracket assembly until you can form a loop over the spool.
- Add 1-3 wraps around the reel spool until desired tension is achieved.
- Check tension and repeat until the desired retraction strength.
⚠️ Tip: Do not exceed the reel’s spring capacity — too much tension can damage the reel.
Special Note for Dual Pedestal Reels
You will need to remove the bumper and control handle then feed the end of the hose through the roller bracket assembly to add or remove wraps of hose from the reel. You can also watch our Reelcraft how-to video for step-by-step visual instructions on adjusting the spring tension for single pedestal reels.
How to Decrease Spring Tension
Reducing spring tension can make it easier to pull out longer hoses or cords.
Steps:
- Remove wraps from the reel spool, one at a time.
- After each wrap is removed, test retraction to make sure the tension is right.
Quick Tips
- Always test after small adjustments — one wrap can make a big difference.
- If your reel still doesn’t retract properly after tension adjustment, check the guide arm position, U-bolt placement, or contact Reelcraft support.
- Watch our Reelcraft how-to videos for additional help on maintaining and servicing your reel.
Can my spring driven reel be made constant tension?
Most Reelcraft spring retractable reels can be made constant tension by removing the latching system. There are some models that may not have this capability.
Please refer to our online tech bulletins for more information on converting your reel to constant tension.
How do I replace the latch spring on my Series 7000 reel?
- Remove all spring tension from the reel by removing the bumper assembly and allowing the spool to un-wind completely.
- Turn off inlet pressure to reel and remove inlet plumbing.
- Remove set-screw which holds main shaft from hub on the base assembly.
- Slide the spool and springcase and shaft assembly away from base.
- Latch assembly should then be visible and accessible.
- Remove old spring, re-attach new spring with large loop over latch stud bushing and small loop through the end of the latch pawl. DO NOT USE pliers or similar tools as they may cause damage to the latch spring during install and shorten service life.
How do I install a new drive spring and set pre-turns?
We have several different types of spring-driven reels. Each requires a slightly different set of instructions. For “How-To” instructions on replacing a drive spring, please have your reel model or drive spring number available and consult customer service for instructions.
For how many wraps of “pre-tension” to put on the reel, please reference the chart below.
| Spring Number | Wraps Required |
| S400030 | 18 |
| S404230 | 13 |
| S504240 | 19 |
| S505740 | 13 |
| S503755 | 21 |
| S600050 | 21 |
| S600620 | 19 |
| S504230 | 17 |
| 602718-80 | 33 |
| 602720-100 | 27 |
| 602720-70 | 25 |
| 602721-80 | 21 |
| 602733 | 33 |
How many GPMs will I get from my hose?
GPM = gallons per minute is a function of hose diameter, hose length, supply pressure and fluid going through the hose/reel. The most common fluids, air and water, can be seen in charted data. For hydraulic oils, it is necessary to know the operating temperature, pressure and fluid viscosity.
Why is my air pressure or fluid flow restricted?
U-bolts tightened down too tight on the hose restricting product flow. Loosen U-bolts to be snug on the outside diameter of the hose, but not too much that it crimps off product flow.
Why will my hose reel or cord reel not retract?
Insufficient Spring Tension
Adjust the spring tension by adding wraps of hose. Pull out approximately 10 feet of hose. Hand feed the hose back up through roller bracket assembly until the loop is large enough to slip over sheave. Add two or three wraps until desired tension is achieved. Do not exceed spring capacity. Watch our “How to Adjust Spring Tension” videos on our Technical Videos page for more help.
Hose / cord reel mounted on ceiling above 16 feet
Control handle weight must also be considered. Contact Reelcraft for further information.
Latch mechanism engaged with drive spring coiled to solid height
U-bolt hose clamps on sheave assembly not positioned correctly.
Hose / cord fully extended will not retract
Latch mechanism engaged with drive spring is coiled to solid height. U-bolt hose clamps on sheave assembly are not positioned correctly.
Product supply to reel, rigid, plumbed in
If a flexible connecting hose is not used between hose reel inlet and hard plumbing, you stand the chance of causing excessive bind to main shaft and hub bearings causing reel not to retract. This will also void the warranty.
Reel mounted on uneven surface
Bolting the reel down to an uneven surface will distort the side frames causing a bind on main support shafts and restricting smooth retraction of the hose.
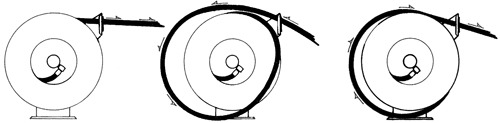
Wrong guide arm position
If the guide arm is in side wind position for ceiling mounted reels, the hose / cord is bending at a 90° angle over roller bracket assembly. This can cause excessive loss of spring tension. Adjust the guide arm to coincide with how the hose / cord reel is actually mounted. U-bolt clamps may also need to be adjusted.
Broken main spring, broken spring arbor, corrosion on shaft and hub
Replace broken part with new. For corrosion: disassemble reel and remove corrosion, lubricate and reassemble.
Why is fluid or air leaking from my swivel?
O-ring worn out or wrong O-ring for material being handled
Replace O-rings with O-ring kit or replace with correct rings for material being handled.
Swivel may be loose or not enough pipe thread sealant on shaft threads
Remove swivel and check threads ensuring they are in good condition. Reapply thread sealant and install swivel onto reel ensuring good thread engagement.
Why will my reel not latch?
If your reel will not latch, it could mean the latch spring is broken or the latch pawl or latch plate is bent. The broken or bent part(s) will need to be replaced.
Refer to our Service Manuals page for assistance finding your parts.
When it comes to maintenance on your reels, replacing the hose is a necessary part of upkeep. A hose gets worn out, overused, tugged on, dirty, ripped, weak, and just old over time. Your hose will be ready to retire way before your reel and you’re typically not going to buy a whole new reel just for the hose. Which is why you replace the hose. This task can be a bit intimidating if you have never done it before. But we are here to walk you through each and every step.
Step 1 – Removing the old hose
When it comes to replacing the hose, you must follow safety protocol for your shop or facility. This could require PPE (personal protective equipment) such as safety glasses or other cautionary actions that you feel are needed to be safe. Secondly, you need to turn off any supply lines connected to the reel or hose and bleed the hose. Once all of this is completed, pull the hose completely off the reel and lock the reel. Make sure your reel is locked. If you let go of the hose and the reel is not locked, nothing is stopping the hose from flying back onto the reel. This is a dangerous situation and can cause injuries.
Step 2 – Removing the U-bolt
Once the reel is locked, check to see if your reel has a U-bolt. The U-bolt holds the hose to the spool of the reel ensuring that if the hose gets over extended, the hose will not pull on the swivel. If your reel has a U-bolt, make note of its location as you will most likely be putting it back into this location. Once the U-bolt location is noted, remove the U-bolt with a proper sized socket.
Step 3 – Prepare the new hose
Once the U-bolt is removed, you can begin using a proper sized wrench and remove the hose from the reel. Once the hose is removed and you are ready to replace the old hose with the new hose, lay the new hose out directly in front of the reel. Remove the bumper stop from your old hose and set aside for later. Make sure the new hose is in a straight line in front of the reel. Apply appropriate thread sealant to your new hose if necessary for your application. Once the hose is straight in front of the reel and has the appropriate thread sealant, you can begin to install the new hose.
Step 4 – Install the new hose
Install the new hose by feeding it through the roller guides, the spool assembly, and into the swivel assembly. Thread the new hose onto the swivel using the same proper sized wrench. Recharge your system and check for leaks. If there are no leaks, verify your U-bolt is in the correct location. Reattach your U-bolt. Be careful not to over tighten it. Make sure the U-bolt is snug enough that the hose will not move but not so tight as it will pinch and damage the hose.
Step 5 – The end!
To finish, attach your bumper stop at your desired location. Once your bumper stop is reattached, unlatch your reel and walk the hose back until the hose is completely back onto the spool. Attaching the bumper stop before retracting the hose back onto the reel eliminates the possibility of the hose slipping back through the guide arms and losing all tension.
Now you have a brand new hose on your reel! To get a visual of these steps you can watch our “How to Install the Hose on a Spring Retractable Reel” video on our Technical Videos page.